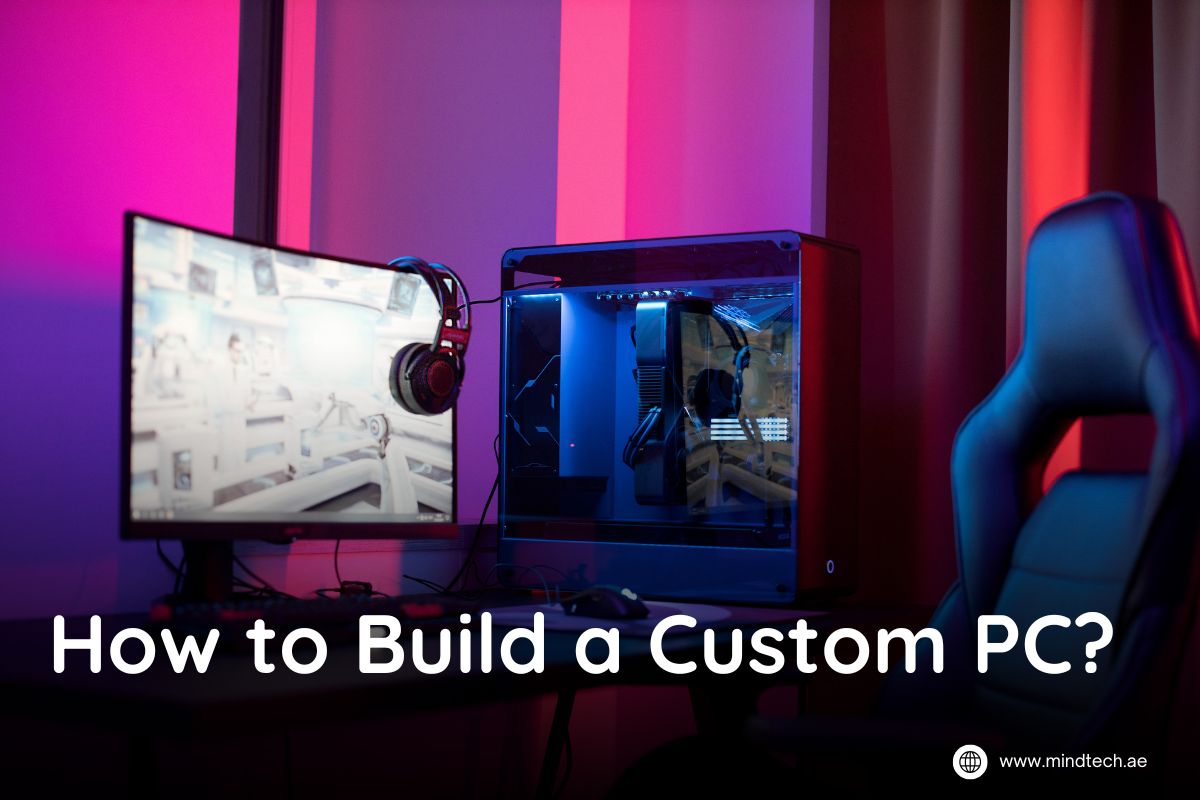
How to Build a Custom PC?
Building your own PC might sound like a techy nightmare, but trust me, it’s way easier, and more exciting, than it seems. If you’ve ever wondered how to build a custom PC, you’re in the right place. Whether you’re looking to build a custom PC for gaming that can handle intense battles or just want a setup that doesn’t crash during a Netflix binge, it’s all about choosing the right parts and putting them together. In this blog, I’ll walk you through how to build a gaming PC step by step, so you can feel like a pro without breaking a sweat (or a motherboard). Ready to create something awesome? Let’s get started
Choosing Your Components:
1. Central Processing Unit (CPU): Factors to Consider
The CPU is like the brain of your PC, it handles all the instructions for your programs and games. When choosing a CPU, consider your needs: Do you want to game, stream, or just browse the web? Look for a processor with multiple cores for multitasking and a high clock speed for faster performance.
Recommended Products:
- Budget: AMD Ryzen 5 5600X or Intel Core i5-12400
- High-end: AMD Ryzen 7 5800X or Intel Core i7-13700K
2. Motherboard: Compatibility and Features
The motherboard is the backbone of your PC, it connects all the parts. Make sure the motherboard is compatible with your CPU (check the socket type) and has the features you need, like Wi-Fi, extra ports, or support for upgrades. A good motherboard can make your build smoother and future-proof.
Recommended Products:
- Budget: MSI B550M PRO-VDH or ASUS PRIME B660M-A
- High-end: ASUS ROG STRIX B550-F or MSI MPG Z690 EDGE
3. Graphics Processing Unit (GPU): Gaming or Rendering Needs
If you’re building a custom PC for gaming or rendering, the GPU is your top priority. It handles all the visual tasks, like gaming graphics or video editing. Choose a GPU based on the games or software you plan to use and the resolution you want (1080p, 1440p, or 4K).
Recommended Products:
- Budget: NVIDIA GeForce GTX 1660 Super or AMD Radeon RX 6500 XT
- High-end: NVIDIA GeForce RTX 4070 Ti or AMD Radeon RX 7900 XT
4. Memory (RAM): How Much RAM is Enough?
RAM (Random Access Memory) is where your PC stores data it needs to access quickly. For gaming and most tasks, 16GB is a good starting point. If you’re into heavy multitasking or video editing, go for 32GB or more. Don’t skimp on speed, 3200MHz or higher is ideal for gaming. Recommended products:
- Corsair Vengeance LPX (16GB, 3200MHz)
- G.Skill Trident Z RGB (16GB, 3600MHz)
5. Storage: SSDs vs HDDs
SSDs are lightning-fast, while HDDs are cheaper and offer more storage space. For gaming and fast boot times, choose an SSD for your main drive (at least 512GB). Add an HDD for extra storage if needed. A mix of both is a smart choice. Recommended products:
- Samsung 970 EVO Plus (1TB SSD)
- Seagate Barracuda (2TB HDD)
6. Power Supply Unit (PSU): Wattage and Efficiency
The PSU powers your entire build, so don’t skimp on this part. Calculate the wattage your components need and add some headroom. Go for 80 Plus Gold-rated PSUs for efficiency. Recommended products:
- Corsair RM750x (750W)
- Seasonic Focus GX-650 (650W)
7. PC Case: Size, Aesthetics, and Airflow
Your PC case isn’t just about looks—it determines how well your parts stay cool. Mid-tower cases fit most builds, but check compatibility with your parts. For a build custom PC for gaming, good airflow is a must. Recommended products:
- NZXT H510
- Cooler Master MasterBox TD500 Mesh
8. Cooling System: Air Cooling vs Liquid Cooling
For most builds, air cooling with a good CPU cooler is enough. If you’re into overclocking or want a sleek look, liquid cooling is a great choice. Both keep your PC from overheating during intense gaming sessions. Recommended products:
- Air Cooling: Cooler Master Hyper 212
- Liquid Cooling: Corsair iCUE H100i Elite Capellix
Either you’re assembling the parts needed to build a PC or planning to build a custom PC online, picking the right components is the first step to creating a high-performing machine.
Building Your PC
Step 1: Preparing Your Workspace
Before getting into the exciting world of PC building, set up a clean, static-free workspace. A large table with plenty of room for all the parts needed to build a PC is ideal. Ground yourself to prevent static damage to components, and gather all tools, like a screwdriver and zip ties, ahead of time. Organizing your workspace ensures a smooth and frustration-free process.
Step 2: Installing the CPU and RAM
Start with the motherboard on a flat surface. Gently install the CPU by lifting the socket latch, aligning the pins, and locking it into place. Next, insert the RAM sticks into their slots, ensuring the notches match. Push until you hear a click. This step is crucial in how to build a custom PC and sets the foundation for your build.
Step 3: Mounting the Motherboard
Carefully place the motherboard into the PC case, aligning it with the pre-installed standoffs. Secure it with screws, ensuring it doesn’t wobble. Double-check that the I/O shield is correctly placed. A solidly mounted motherboard is critical for a stable build custom PC for gaming or other tasks.
Step 4: Installing Storage Devices
Install your SSD or HDD in the appropriate slots within the case. Secure them with screws and connect the SATA cables (if required) to the motherboard. For a faster system, consider an NVMe SSD, which plugs directly into the motherboard for quicker data transfer. This step helps your build a gaming PC step by step to ensure top performance.
Step 5: Connecting the PSU and Cables
Mount the Power Supply Unit (PSU) at the bottom or rear of the case, depending on your case design. Use the modular cables to connect the motherboard, CPU, and storage devices. Check the wattage requirements of your components to avoid underpowering your system. If unsure, explore options to build a custom PC online for power recommendations.
Step 6: Adding the GPU
Insert the Graphics Processing Unit (GPU) into the PCIe slot on the motherboard. Secure it with screws and connect the necessary power cables from the PSU. For gamers, this step is the heart of the build and ensures smooth performance for even the most demanding titles. Investing in a quality GPU is essential if you plan to buy a custom PC in UAE or build one yourself.
Step 7: Cable Management for Better Airflow
Organize your cables neatly behind the motherboard tray, using zip ties or Velcro straps to secure them. Proper cable management not only makes your PC look great but also improves airflow, keeping temperatures in check during intense gaming or workload sessions.
Step 8: Testing Your Build
Before closing the case, connect the power and turn on your system to test everything. Check if all fans spin, lights turn on, and the system boots correctly. If it doesn’t start, recheck your connections. Testing ensures your build custom PC for gaming is ready for action without any surprises.
Also Read: Best CPU coolers for pc
Conclusion:
Lastly, there is a lot of fun and satisfaction in building your own PC, and you have full control over how it works and looks. It’s just as important to understand the parts as it is to put them together when building a custom PC, whether it’s your first time or you’re just getting better at it. If you want to build a custom PC for games or to be able to do a lot of different things at once, you can customize your setup to fit your needs. If you follow this step-by-step guide to building a gaming PC, you’ll have the information and confidence to make a system that works well and meets your needs. So, roll up your sleeves, gather your parts, and get ready to enjoy the satisfaction of powering up your custom-built masterpiece.
What are the main advantages of building a custom PC over buying a pre-built one?
Detailed benefits like cost savings, customization, and better performance.
How long does it take to build a custom PC?
It depends on your experience; typically, it takes 2-4 hours.
Do I need technical knowledge to build a PC?
Basic knowledge is sufficient, and numerous guides are available for beginners.
How often should I upgrade my custom PC components?
Upgrades depend on your usage and performance needs, usually every 3-5 years



Add comment